How to Clean Kitchen: A Simple Step-by-Step Guide
Cleaning your kitchen might sound like a never-ending chore and it is easy to put off until the mess piles up. But studies show that a clutter-free kitchen can cut cleaning time by half and even lower stress levels. Most people think grabbing a sponge and some spray is all it takes, yet the real secret is how you prepare before a single wipe—there’s a smarter way that makes the job almost effortless.
Table of Contents
- Step 1: Gather Your Cleaning Supplies
- Step 2: Clear and Declutter Your Countertops
- Step 3: Clean Appliances from Top to Bottom
- Step 4: Wipe Down All Surfaces Thoroughly
- Step 5: Sweep and Mop the Floor
- Step 6: Verify Cleanliness and Organize for Maintenance
Quick Summary
| Key Point | Explanation |
|---|---|
| 1. Gather all cleaning supplies first | Prepare a comprehensive cleaning kit with tools and solutions before starting to save time and enhance efficiency. |
| 2. Declutter countertops for efficiency | Remove all items and assess their need on countertops to create a more organized and manageable workspace. |
| 3. Clean appliances systematically | Start with the refrigerator, then move to the oven and small appliances, ensuring both exterior and interior surfaces are cleaned. |
| 4. Thoroughly wipe down surfaces | Utilize a microfiber cloth and appropriate cleaners to ensure all surfaces, including counters and sinks, are sanitized and streak-free. |
| 5. Establish a maintenance routine | Create a schedule with daily, weekly, and monthly tasks to maintain your kitchen’s cleanliness easily over time. |
Step 1: Gather Your Cleaning Supplies
Cleaning your kitchen effectively starts with proper preparation, and that means assembling the right supplies before you begin. Having everything ready will save you time, reduce frustration, and ensure a more thorough cleaning process. The key is to gather all necessary tools and cleaning agents before you start scrubbing and wiping.
Begin by collecting a comprehensive set of cleaning tools that will help you tackle different surfaces and areas in your kitchen. Your basic cleaning kit should include microfiber cloths, which are superior to regular rags because they trap dirt more effectively and leave surfaces streak-free. You will also want several clean, dry towels for drying surfaces and wiping up spills. A sturdy pair of rubber gloves will protect your hands from harsh cleaning chemicals and hot water.
For cleaning solutions, you will need an all-purpose kitchen cleaner that works on multiple surfaces like countertops, appliance exteriors, and cabinet fronts. White vinegar is an excellent multipurpose cleaning agent that can cut through grease and grime without harsh chemicals. Learn more about using white vinegar for cleaning to maximize its effectiveness in your kitchen.
Your cleaning arsenal should also include specialized tools for different kitchen areas. A scrub brush with stiff bristles works well for tough, baked-on grime, while a soft sponge is gentler for delicate surfaces. Include a squeegee for glass and mirror surfaces, and microfiber mop pads for floor cleaning. A step stool can help you reach high shelves and top of cabinets safely.
Organize your supplies in a portable caddy or bucket so you can easily move from one area to another without repeatedly returning to gather more tools. This strategy keeps you efficient and prevents interrupting your cleaning workflow. Check that you have everything before starting: cleaning solutions, cloths, tools, gloves, and trash bags for disposing of dirt and used cleaning materials.
Here is a quick-reference table summarizing the essential tools and cleaning solutions mentioned for an efficient kitchen cleaning process.
| Supply/Tool | Purpose/Use | Notes |
|---|---|---|
| Microfiber cloths | Traps dirt, streak-free surface cleaning | Superior to regular rags |
| Rubber gloves | Protects hands from chemicals and hot water | Durable, reusable |
| All-purpose cleaner | Cleans most surfaces (counters, appliances, cabinets) | Choose one safe for kitchen surfaces |
| White vinegar | Cuts grease, multipurpose natural cleaner | Also deodorizes, gentle on surfaces |
| Scrub brush | Removes baked-on grime | Stiff bristles best for tough spots |
| Soft sponge | Cleans delicate surfaces | Use non-abrasive side for gentle areas |
| Squeegee | Cleans glass and mirrors | Prevents water spots and streaks |
| Microfiber mop pads | Floor cleaning, traps dirt more effectively | Washable and reusable |
| Step stool | Helps reach high shelves/cabinet tops | Ensure stable, non-slip surface |
| Trash bags | For disposing of used materials and clutter | Heavy duty bags recommended |
By preparing thoroughly, you set yourself up for a successful and less stressful kitchen cleaning experience. Your organized approach will make the entire process smoother and more effective.
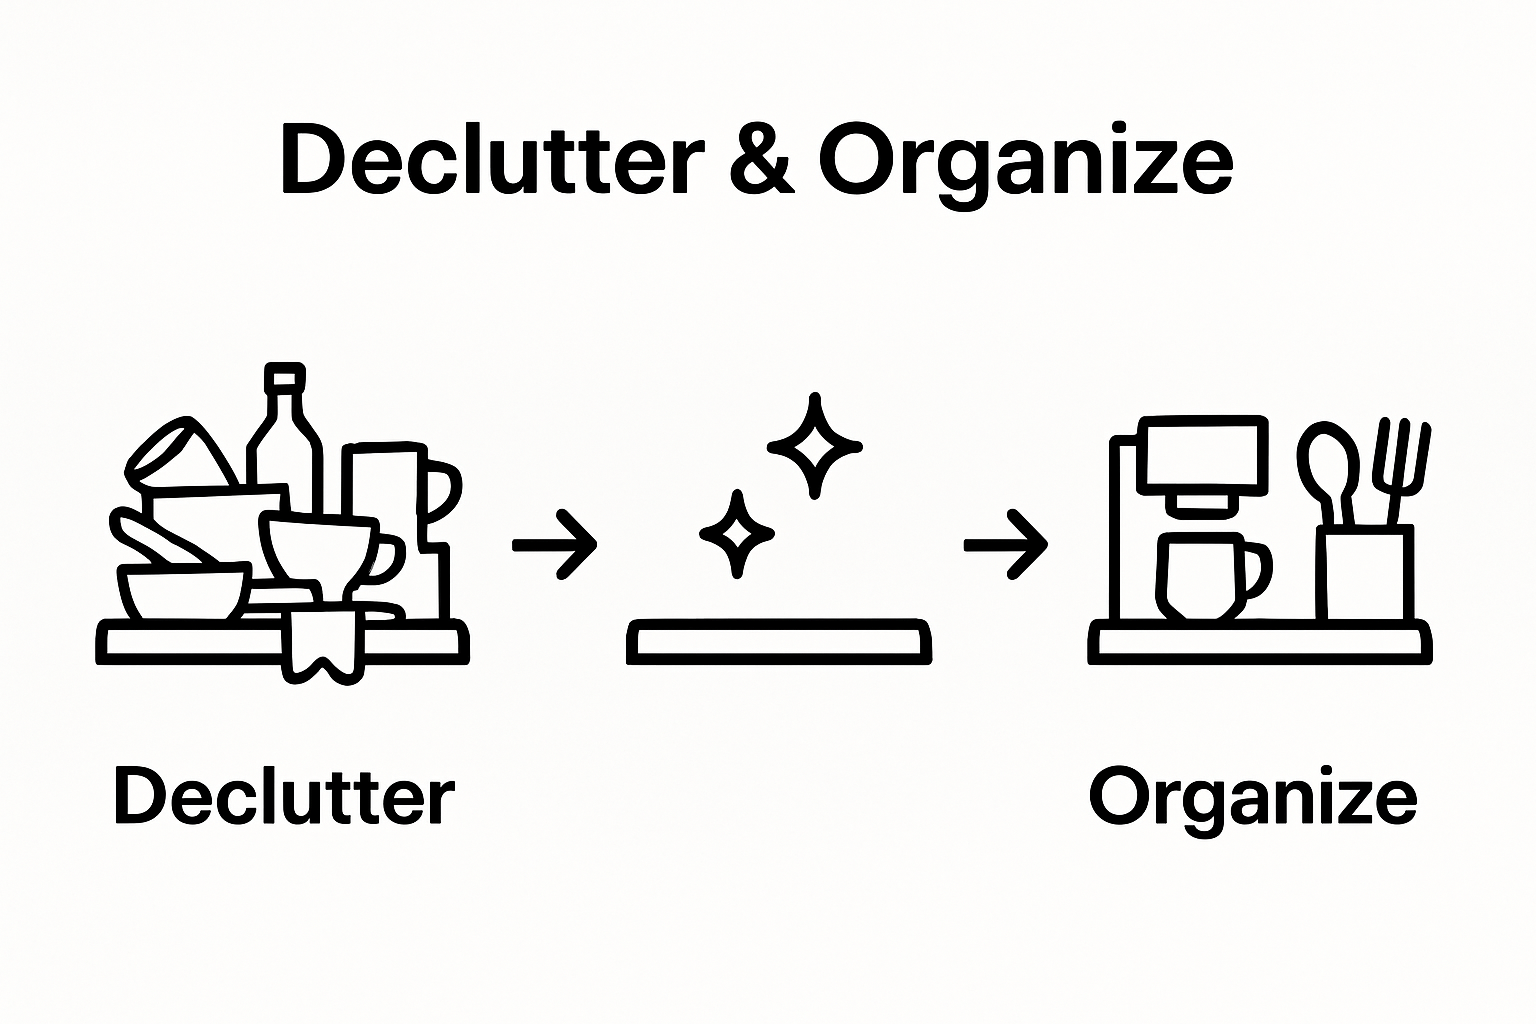
Step 2: Clear and Declutter Your Countertops
Clearing and decluttering your kitchen countertops is more than just tidying up. It is a strategic process that transforms your kitchen from a chaotic space into an efficient, clean environment. A clutter-free countertop not only looks better but also makes cleaning significantly easier and faster.
Start by completely removing everything from your countertops. Every single item. This means small appliances, decorative items, cookbooks, random papers, and any miscellaneous objects that have accumulated over time. Place these items on a clean table or temporary workspace where you can sort through them systematically. Learn more about decluttering your kitchen counters to refine your organizational strategy.
As you remove items, critically evaluate each one. Ask yourself: When was the last time I used this? Does this truly belong on my kitchen counter? Many people accumulate kitchen items without realizing how much unnecessary clutter they collect. Some appliances like a frequently used coffee maker or toaster might earn a permanent spot, but most items should be relocated to cabinets, drawers, or even removed entirely.
Create designated storage zones for items that genuinely need to be accessible. A small tray can corral frequently used cooking utensils, while a compact basket might house cooking oils and seasonings. The goal is to maintain a minimal, purposeful counter surface that allows you maximum workspace and makes subsequent cleaning much simpler. Consider vertical storage solutions like wall-mounted shelves or magnetic knife strips to free up counter real estate.
Once you have sorted through your items, wipe down the now-empty counter surfaces with your all-purpose cleaner. This is an excellent opportunity to remove any hidden grime or dust that accumulated beneath your previous clutter. Take your time and clean thoroughly, paying attention to corners and edges where dirt tends to collect.
Finish by replacing only the most essential, frequently used items back onto your counters. Your workspace should now feel open, clean, and ready for efficient cooking and cleaning. A well-decluttered counter is not just visually appealing but creates a more functional and stress-free kitchen environment.
Step 3: Clean Appliances from Top to Bottom
Cleaning kitchen appliances requires a systematic approach that ensures every surface gets thorough attention. Your goal is to remove grease, food residue, and hidden grime from both exterior and interior surfaces of your kitchen appliances. By working methodically from top to bottom, you will prevent spreading dirt and achieve a truly clean kitchen environment.
Begin with your refrigerator, starting at the top shelves and working downward. Remove all items and store perishables in a cooler to maintain their temperature. Take out removable shelves and drawers, washing them separately with warm soapy water. Wipe interior surfaces with a mixture of baking soda and water, which cuts through sticky residues without harsh chemicals. For the exterior, use a microfiber cloth with all-purpose cleaner to create a streak-free finish. Check out our kitchen hacks that cut cleanup time in half for additional efficiency tips.
Move next to your oven and stovetop, another area prone to stubborn grease and food buildup. If your oven has a self-cleaning feature, run it before manual cleaning to reduce heavy residue. For manual cleaning, create a paste using baking soda and water, applying it to tough stains and letting it sit for 15 minutes before wiping away. Clean stovetop burners and grates with degreasing solution, paying special attention to areas around knobs and edges where grime accumulates.
Tackle smaller appliances like the microwave, toaster, and coffee maker. In the microwave, heat a bowl of water with lemon slices for two minutes to loosen stuck-on food and neutralize odors. Wipe interior walls and turntable with a soft cloth. For coffee makers, run a vinegar solution through the brewing cycle to descale and remove mineral buildup. Unplug toasters and clean crumb trays thoroughly, turning them upside down to shake out additional debris.
Finish by polishing stainless steel surfaces with a specialized cleaner or white vinegar to restore shine and prevent water spots. Ensure all appliances are completely dry before replacing items to prevent bacterial growth. A meticulously cleaned set of kitchen appliances not only looks better but operates more efficiently and promotes a healthier cooking environment.
Step 4: Wipe Down All Surfaces Thoroughly
Thoroughly wiping down kitchen surfaces is more than a cosmetic task. It is a critical step in maintaining a hygienic cooking environment and preventing the spread of bacteria and germs. By systematically cleaning every surface, you eliminate hidden dirt, sticky residues, and potential contamination zones that could compromise your family’s health.
Begin your surface cleaning with countertops, which are high-contact areas that accumulate the most grime. Use a microfiber cloth and all-purpose cleaner, working from one end of the counter to the other in smooth, consistent motions. Pay special attention to edges, corners, and areas around the sink where food particles and moisture tend to collect. For natural stone surfaces like granite or marble, use cleaners specifically designed to protect their unique finishes. Explore our kitchen hacks that cut cleanup time in half to make this process more efficient.
Move systematically through other surfaces like cabinet fronts, drawer handles, and backsplashes. These areas often get overlooked but collect significant amounts of cooking splatter, grease, and fingerprints. Use a slightly damp microfiber cloth with a gentle cleaning solution, wiping in a consistent direction to prevent streaking. For wooden surfaces, avoid saturating the material and use a cleaner that conditions while it cleans to maintain the wood’s integrity.
Your sink requires special attention, as it is a prime breeding ground for bacteria. Scrub the entire basin with a non-abrasive cleaner, including the faucet, handles, and surrounding countertop. For stainless steel sinks, use a cleaner that prevents water spots and restores shine. Chrome and copper fixtures benefit from specialized metal cleaners that remove water stains and prevent tarnishing.
Finish by doing a final walkthrough with a clean, dry microfiber cloth to catch any remaining moisture and ensure a streak-free finish. Check surfaces from different angles under good lighting to confirm you have not missed any spots. A thoroughly cleaned kitchen is not just about appearance but about creating a safe, hygienic space where you can confidently prepare meals for yourself and your loved ones.

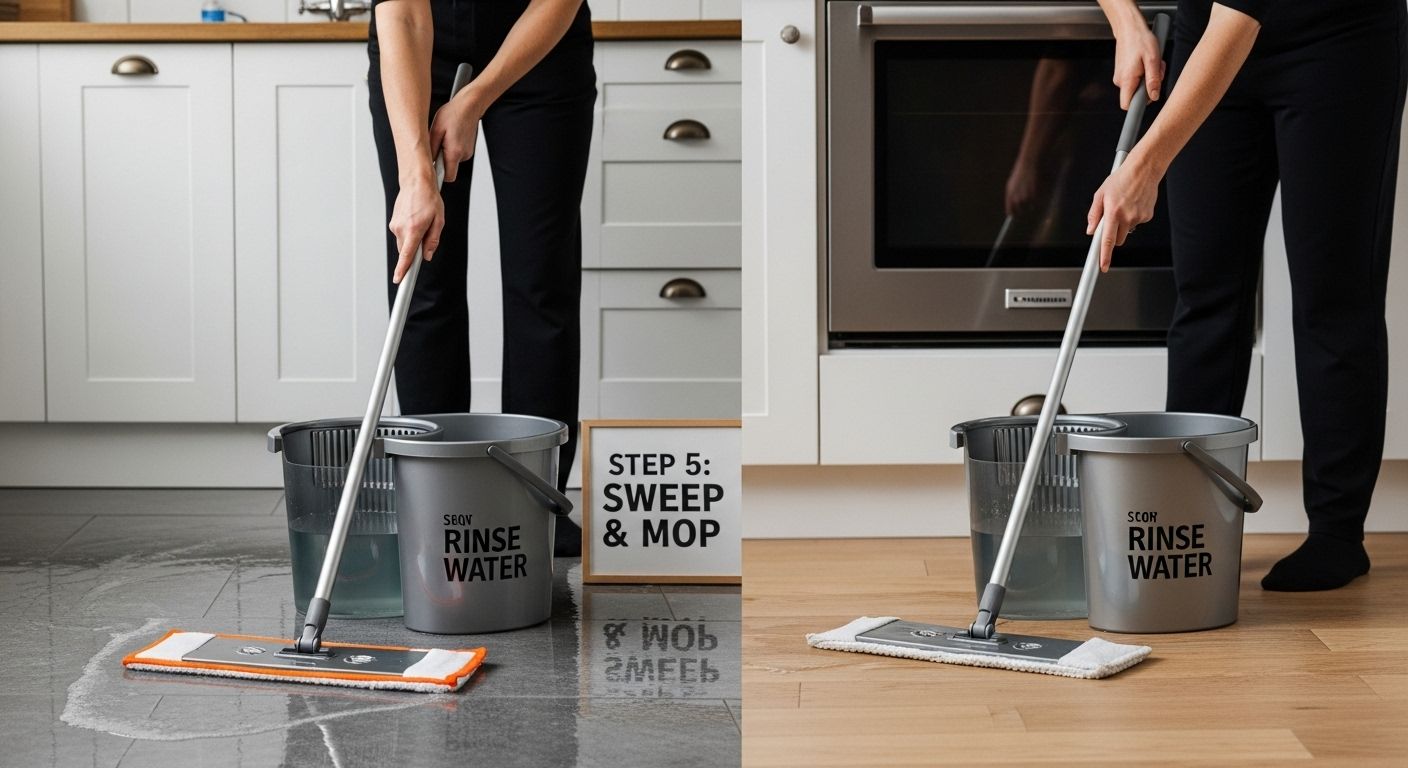
Step 5: Sweep and Mop the Floor
Sweeping and mopping your kitchen floor is the final transformative step in creating a truly clean kitchen. This process removes accumulated dirt, sticky residues, and potential bacteria that have settled on your floor during cooking and daily activities. A thoroughly cleaned floor not only looks pristine but also contributes to a healthier kitchen environment.
Begin by thoroughly sweeping the entire floor, paying special attention to corners, edges around cabinets, and areas beneath appliances where dust and food particles tend to accumulate. Use a broom with firm bristles to capture fine debris, and consider using a dustpan with a rubber edge to collect every last particle. Move small floor mats, trash cans, and other movable items to ensure you sweep the entire surface area. Discover kitchen hacks that cut cleanup time in half to make this process more efficient and thorough.
For mopping, select a cleaning solution appropriate for your specific floor type. Ceramic tiles, vinyl, and linoleum require different approaches. Prepare two buckets: one with warm water and cleaning solution, and another with clean water for rinsing your mop. This two-bucket method prevents spreading dirt around and ensures a more hygienic cleaning process. Use a microfiber mop head, which traps dirt more effectively than traditional string mops and leaves less residual moisture on the floor.
Work methodically across the floor, starting from the farthest corner and moving toward the exit. Use a figure-eight motion with your mop to maximize dirt removal and minimize streaking. Rinse your mop frequently in the clean water bucket to prevent redistributing dirt. For stubborn spots, apply slightly more pressure or use a soft scrub brush to gently remove stuck-on grime. Pay extra attention to areas around the stove and sink, which typically accumulate more grease and food residue.
After mopping, allow the floor to air dry completely. Open windows or use fans to speed up the drying process and prevent water spots. A final walk-through in good lighting will help you spot any missed areas or remaining streaks. Your kitchen floor should now look clean, feel smooth underfoot, and provide a sparkling finish to your comprehensive kitchen cleaning process.
Step 6: Verify Cleanliness and Organize for Maintenance
Verifying your kitchen’s cleanliness and establishing a maintenance routine transforms a one-time cleaning effort into a sustainable system. This final step ensures that your hard work pays off and creates a framework for keeping your kitchen consistently clean with minimal future effort. Think of this stage as your kitchen’s quality control and prevention strategy.
Begin by conducting a comprehensive visual inspection using bright, natural lighting. Walk around your kitchen systematically, examining surfaces from different angles. Look for missed spots, streaks on appliances, remaining dust on cabinet tops, or overlooked corners. Check that all surfaces shine, appliances are free of fingerprints, and floors have no remaining dirt patches. Explore our spring cleaning checklist to refine your verification process and develop a comprehensive cleaning approach.
Organize your cleaning supplies and tools immediately after finishing. Clean and dry all cloths, sponges, and mops to prevent bacterial growth. Store cleaning solutions in their designated spaces, ensuring caps are tightly sealed and bottles are labeled. Group similar cleaning products together and place them in a cool, dry area away from food preparation zones. Consider creating a small cleaning caddy that contains essential supplies, making future cleaning sessions more efficient and streamlined.
Establish a maintenance schedule that breaks down cleaning tasks into daily, weekly, and monthly responsibilities. Daily tasks might include wiping counters after cooking, cleaning dishes immediately, and quick floor sweeping. Weekly tasks could involve more thorough appliance cleaning and mopping. Monthly tasks might include deep cleaning refrigerator interiors, organizing pantry spaces, and checking for expired items. By creating this structured approach, you prevent overwhelming buildup and maintain your kitchen’s cleanliness with minimal effort.
The following table outlines common daily, weekly, and monthly kitchen maintenance tasks based on strategies discussed in the guide.
| Frequency | Key Maintenance Tasks | Main Benefits |
|---|---|---|
| Daily | Wipe counters after cooking, wash dishes, quick floor sweep | Prevents buildup, easy upkeep |
| Weekly | Deep clean appliances, mop floors, sanitize sinks and faucets | Maintains cleanliness |
| Monthly | Deep clean refrigerator, organize pantry, remove expired items | Long-term organization |
Finally, take a moment to appreciate your newly cleaned kitchen. Your systematic approach has not just cleaned a space but created an environment that supports healthy cooking, reduces stress, and makes daily kitchen activities more enjoyable. A clean, organized kitchen is more than just a visual pleasure. It is a functional space that supports your lifestyle and promotes overall home wellness.
Ready to Make Your Kitchen Shine All the Time?
You just learned step-by-step how to clear the clutter, clean appliances, and create a sparkling kitchen. If you feel tired of chaotic counters, stubborn messes, or wondering how to keep your kitchen tidy every day, you are not alone. Real change starts with simple routines and expert guidance. Discover even more practical advice and quick solutions in our Kitchens collection. You will find targeted tips on cleaning, organizing, and kitchen decluttering that build on everything you learned in this guide.
Why wait for the mess to return? Embrace an organized kitchen and reclaim calm from daily chaos. Visit our Cleaning archives for even more expert resources and inspiration to keep your whole home spotless.
Recommended
- Spring Cleaning Checklist
- Kitchen Hacks that Cut Cleanup Time in Half
- 5 Easy Steps to Decluttering Your Kitchen Countertops
- Kitchens Archives