Ultimate Kitchen Declutter Checklist
Kitchen clutter creeps up fast and suddenly that tidy drawer is overflowing with mismatched lids and unused gadgets. Shockingly, most kitchens can be fully organized in just 2 to 4 hours with a solid plan. Most advice says decluttering is about ruthless purging, but the real secret is in the setup. The right strategy at the very beginning decides whether your organizing mission succeeds or fizzles out.
Table of Contents
- Step 1: Gather Your Supplies And Set Up A Decluttering Zone
- Step 2: Empty Cabinets And Drawers To Assess Items
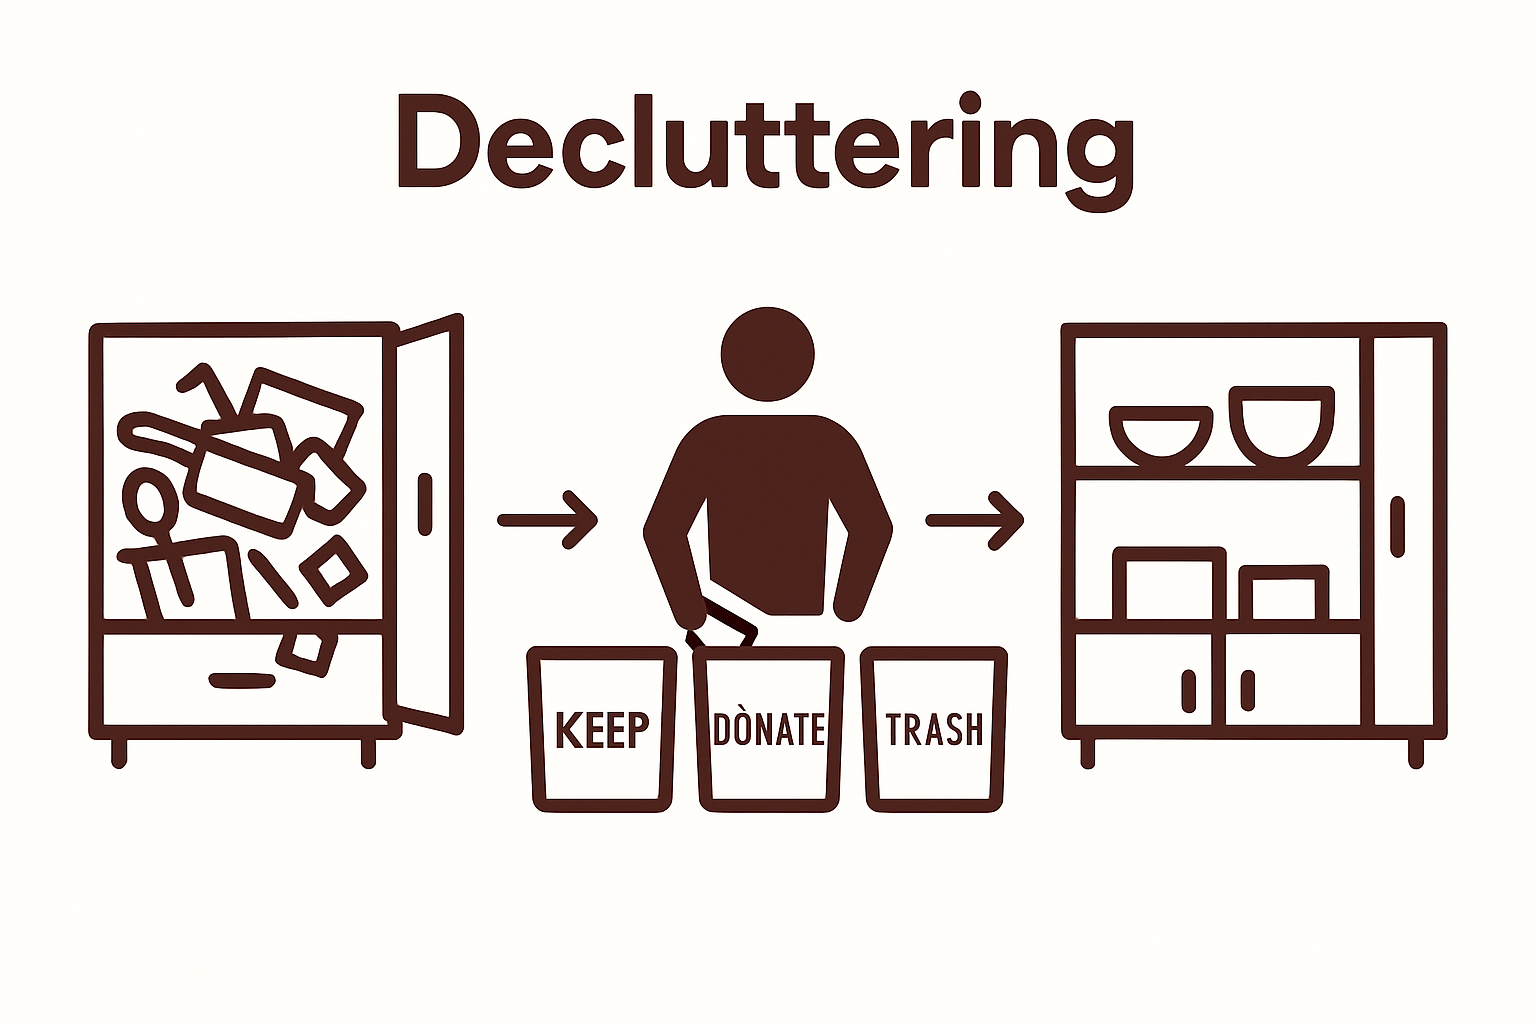
- Step 3: Sort Items Into Keep, Donate, And Discard Categories
- Step 4: Clean And Wipe Down Surfaces After Sorting
- Step 5: Organize The Keep Items Strategically Back Into Storage
- Step 6: Evaluate Your New Setup And Adjust As Necessary
Quick Summary
| Key Point | Explanation |
|---|---|
| 1. Prepare Your Decluttering Zone | Create a clean and well-lit area with labeled containers to effectively organize items into categories like keep, donate, and trash. |
| 2. Systematically Empty Cabinets | Focus on one cabinet or drawer at a time to avoid feeling overwhelmed. Clean as you go to refresh your space. |
| 3. Sort Items by Usefulness | Create distinct piles for keeping, donating, and discarding items based on usage frequency and condition to streamline your kitchen. |
| 4. Clean Surfaces Thoroughly | After sorting, ensure all surfaces, including cabinets and countertops, are cleaned to establish a hygienic environment for organization. |
| 5. Evaluate and Adjust as Needed | After reorganization, observe your kitchen’s functionality over two weeks and make adjustments to improve layout and accessibility. |
Step 1: Gather Your Supplies and Set Up a Decluttering Zone
Before diving into your kitchen declutter project, you need a solid plan and the right tools. Think of this first step like preparing for a home improvement mission where strategy matters as much as execution. Successful kitchen organization starts with smart preparation.
Start by collecting essential decluttering supplies. You’ll want several sturdy boxes or containers that you can label clearly. These will become your sorting stations for different categories: keep, donate, trash, and relocate. Clear plastic bins work great because they let you see contents quickly and stack neatly. Grab some heavy duty garbage bags, cleaning supplies like all purpose cleaner and microfiber cloths, and a few markers for labeling.
Next, create a dedicated decluttering zone near your kitchen. This space will be your command center during the entire process. Choose an area with good lighting and enough room to spread out your sorting containers. A nearby table or clean countertop works perfectly. Check out our guide on kitchen organization tips for additional strategies to maximize your workspace.
Your decluttering zone should include these key elements:
- A clear working surface
- Good lighting
- Your sorting containers
- Cleaning supplies
- A trash bag
- Water and a snack (because this work takes energy)
Preparing mentally is just as important as gathering physical supplies. Set a realistic timeline for your kitchen declutter project. Most kitchens take 2-4 hours to thoroughly organize, so block out enough time. Remember, this isn’t about perfection but steady progress. Stay focused, take breaks when needed, and celebrate small victories along the way.
Verify your setup is complete by doing a quick walkthrough. Ensure all supplies are within reach, your sorting containers are labeled, and you feel ready to tackle the task. With everything in place, you’re now prepared to transform your kitchen from chaotic to organized.
This table summarizes the main supplies recommended for setting up your decluttering zone, along with their purpose for the process.
| Supply | Purpose |
|---|---|
| Labeled Containers | Separate items into keep, donate, trash, and relocate piles |
| Clear Plastic Bins | Easily view and stack sorted items |
| Heavy Duty Trash Bags | Dispose of broken, expired, or unusable items |
| All Purpose Cleaner | Wipe down cabinets, drawers, and surfaces |
| Microfiber Cloths | Effective dusting and cleaning |
| Markers | Label containers for clear sorting |
| Water/Snack | Stay energized during the process |
| Good Lighting | Clearly see items and workspace while sorting |
Step 2: Empty Cabinets and Drawers to Assess Items
Now that you’ve prepared your decluttering zone, it’s time to tackle the contents of your kitchen storage spaces. Completely emptying cabinets and drawers is crucial for a thorough kitchen declutter. This step might feel overwhelming, but breaking it down into manageable actions will help you stay focused and motivated.
Begin by selecting a single cabinet or drawer to start with. Resist the temptation to empty everything at once. Systematic approach is key. Pull out every single item and place it on your prepared workspace. As you remove items, wipe down the empty cabinet or drawer with a clean cloth and all purpose cleaner. This gives you a chance to clean those often neglected spaces and start fresh.
Explore our detailed guide on kitchen organization strategies to help you make tough decisions about what to keep. As you assess each item, ask yourself critical questions. When was the last time you used this? Is it damaged? Does it serve a specific purpose? Some items might look useful but have been sitting untouched for years.
Create sorting piles that match your previously labeled containers:
- Keep: Items you use regularly and are in good condition
- Donate: Functional items in good shape that you no longer need
- Trash: Broken, expired, or unusable items
- Relocate: Things that belong in another room or space
Be honest with yourself during this process. Kitchen tools and gadgets have a way of accumulating over time. That specialty avocado slicer or novelty mug might have seemed like a good idea once, but if it’s not adding value to your daily life, it’s time to let it go. Ruthless editing is the secret to an organized kitchen.
You’ll know you’ve completed this step successfully when every item is sorted, your cabinet or drawer is clean, and you have a clear understanding of what you actually use. Take a moment to appreciate the progress you’ve made. Each empty and cleaned space is a small victory in your kitchen declutter journey.
Step 3: Sort Items into Keep, Donate, and Discard Categories
With your kitchen items spread out, it’s time to make critical decisions about what stays and what goes. Sorting is the heart of effective decluttering, requiring both emotional honesty and practical thinking. This step transforms your kitchen from a storage nightmare into an organized, functional space.
Approach sorting with a strategic mindset. According to research from the University of Georgia Extension, creating clear sorting categories helps streamline the process. Start by looking at each item objectively. Ask yourself tough questions: Have I used this in the last year? Does it serve a genuine purpose? Is it in good condition?
The keep category is for items you use regularly and truly need. These are your go to kitchen tools that make cooking and meal prep easier. Be selective. A well organized kitchen means keeping only what adds value to your daily life. Multiple potato peelers or chipped mugs don’t make the cut.
Below is a checklist table organizing key criteria to consider when sorting items into Keep, Donate, or Discard piles as described in Step 3.
| Criteria | Keep | Donate | Discard |
|---|---|---|---|
| Frequency of Use | Used regularly | Rarely or never used | Not used in years |
| Condition | Good, working order | Good, gently used | Broken, damaged, expired |
| Practical Value | Serves a needed, ongoing purpose | Useful, but no longer serves you | No longer serves any purpose |
| Duplicates | Unique or best quality | Extra copies, not needed | Unusable duplicates |
| Emotional Attachment | Brings genuine value or joy | No strong attachment | Kept out of guilt or obligation |
| Potential for Future Use | Will definitely use | Someone else could use | Unlikely to ever use |
Your sorting criteria should include these key considerations:
- Frequency of use
- Condition of the item
- Emotional attachment vs. practical value
- Duplicate items
- Potential for future use
For the donate pile, focus on items that are still in good condition but no longer serve you. Slightly used kitchen gadgets, extra utensil sets, or specialty cookware can find new life with someone else. Check local donation centers or community kitchens that might appreciate these items. Many organizations welcome kitchen supplies in good condition.
The discard category is for broken, expired, or truly unusable items. Be ruthless here. Expired spices, cracked containers, and worn out tools should go directly in the trash. Don’t keep things out of guilt or some imagined future use. Letting go creates space for what truly matters.
You’ll know you’ve successfully completed this step when every item has a clear destination. Your sorting containers should be full, with a definitive keep pile that’s significantly smaller than when you started.
 Take a moment to appreciate your progress. Each item you’ve decided to remove is a step toward a more organized, functional kitchen.
Step 4: Clean and Wipe Down Surfaces After Sorting
A clean surface is the foundation of an organized kitchen. After sorting your items, it’s time to give your cabinets, drawers, and countertops a thorough cleaning. This step isn’t just about aesthetics. It’s about creating a fresh, hygienic environment for your newly organized kitchen space.
According to Rutgers NJAES research on kitchen hygiene, cleaning surfaces is crucial for preventing potential health risks. Start by gathering your cleaning supplies. You’ll want an all purpose cleaner, microfiber cloths, a fresh sponge, and some paper towels. White vinegar mixed with water can be an excellent natural cleaning solution if you prefer chemical free options.
Begin with the empty cabinets and drawers you’ve already sorted. Spray the interior thoroughly, paying special attention to corners and edges where dust and grime tend to accumulate. Use a clean cloth to wipe away any dirt, old shelf liner, or sticky residue. For stubborn spots, a magic eraser can work wonders. Take your time and be thorough. This is your chance to reset these spaces completely.
Cleaning checklist for maximum effectiveness:
- Remove all remaining dust and debris
- Check for any signs of moisture or potential pest issues
- Wipe down interior surfaces completely
- Allow surfaces to dry fully before replacing items
- Inspect for any needed repairs or replacements
Move on to your countertops, backsplash, and other kitchen surfaces. The goal is to create a blank canvas for your reorganized kitchen. Pay attention to areas often overlooked like the tops of appliances, behind the faucet, and those tricky corners where grease and dust collect. A clean microfiber cloth can help you reach tight spaces and achieve a streak free finish.
You’ll know you’ve completed this step successfully when every surface feels smooth, looks spotless, and smells fresh. Take a moment to appreciate the transformation. Your empty, clean spaces are now ready for the final stage of your kitchen declutter mission. The hard work is paying off, and a more organized kitchen is just around the corner.
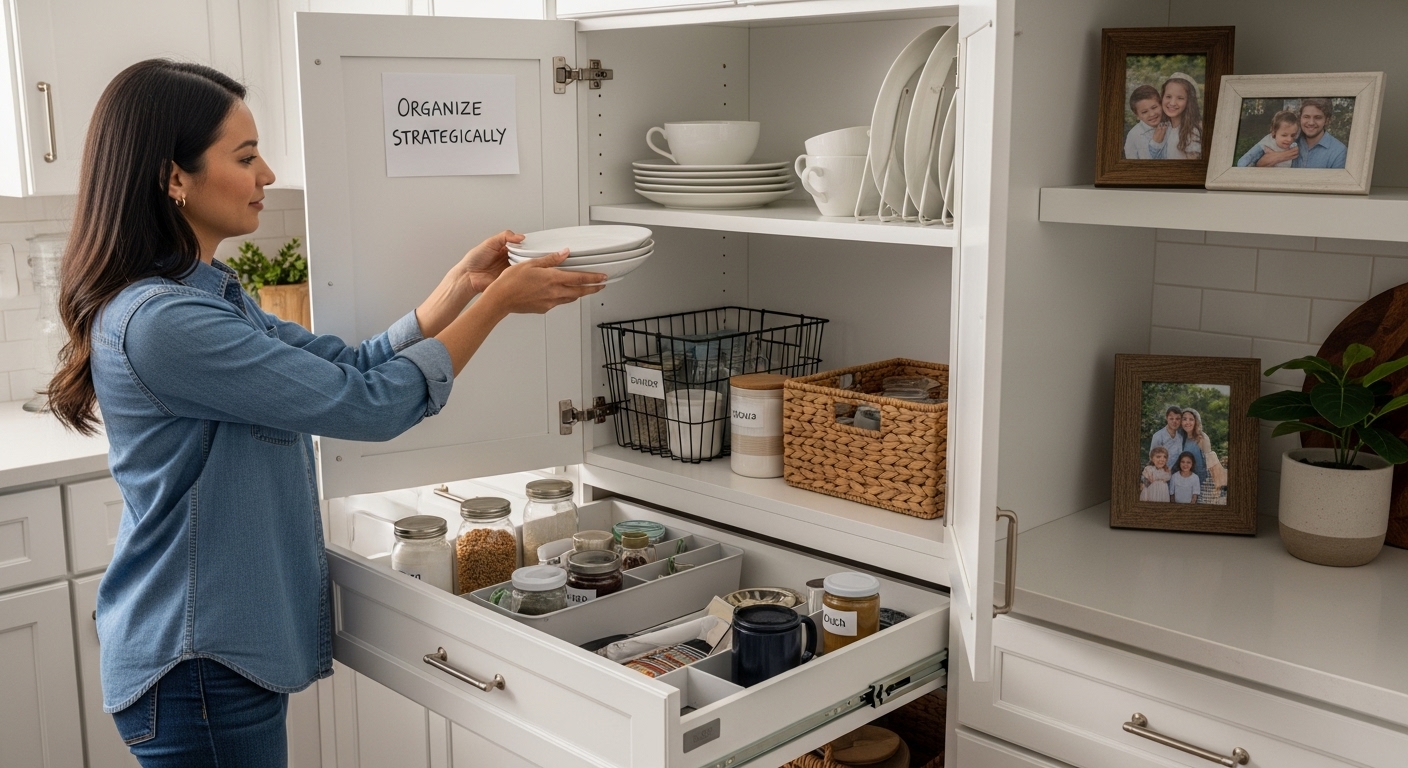
Step 5: Organize the Keep Items Strategically Back into Storage
Strategic placement transforms a cluttered kitchen into an efficient workspace. Now that you’ve cleaned your surfaces and sorted your items, it’s time to thoughtfully return your kept items to their new homes. This isn’t about randomly stuffing things back into cabinets. It’s about creating a logical system that makes cooking and daily kitchen tasks smoother.
According to CDC research on strategic layout, how you arrange items can significantly impact your kitchen’s functionality. Start by grouping similar items together. Baking supplies should live near each other, cooking utensils should be close to the stove, and everyday dishes should be easily accessible.
Consider your kitchen’s workflow when placing items. Imagine preparing a meal and think about which tools you’ll need and when. Pots and pans should be near the stove. Cutting boards and knives should be close to each other. Rarely used items can go on higher shelves or in harder to reach cabinets. Proximity and accessibility are your new organizational mantras.
Key organizational principles to remember:
- Group items by frequency of use
- Place heavy items at lower levels
- Keep frequently used items at eye level
- Create zones for different cooking activities
- Use drawer dividers and shelf organizers
Invest in some organizational tools that will help maintain your new system. Clear plastic containers can help you see what’s inside cabinets. Drawer dividers prevent utensils from becoming a jumbled mess. Lazy susans can make corner cabinets more accessible. Remember, the goal is to create a system that’s easy to maintain.
You’ll know you’ve successfully completed this step when everything has a designated place and you can quickly find what you need without searching. Step back and admire your work. Your kitchen is now a streamlined, efficient space that will make cooking and daily tasks much more enjoyable. Take a moment to appreciate the transformation you’ve created through careful sorting, cleaning, and strategic organization.
Step 6: Evaluate Your New Setup and Adjust as Necessary
Your kitchen declutter journey isn’t over when everything is organized. The true test of your new system comes in the days and weeks following your initial reorganization. This final step is about reflection, adaptation, and ensuring your hard work translates into long lasting kitchen efficiency.
According to research on organizational strategies, continuous evaluation is crucial for maintaining an organized space. Give yourself about two weeks to live with your new kitchen setup. Pay attention to how you move through the space, where you naturally reach for items, and what feels intuitive versus awkward.
Start by observing your daily kitchen routines. Are you finding items easily? Do some cabinets or drawers still feel overcrowded? Are there areas where you’re constantly struggling to retrieve what you need? These are clear signals that some adjustments might be necessary. Small tweaks can make a massive difference in your kitchen’s functionality.
Consider these evaluation points:
- How often do you need to move items to access something else?
- Are frequently used items easily reachable?
- Do your current storage solutions actually work for your lifestyle?
- Are there any lingering areas of frustration?
Don’t be afraid to make changes. Organizational systems are not set in stone. If a particular arrangement isn’t working, move things around. Try different drawer dividers, invest in additional storage containers, or rethink your initial placement strategy. The goal is to create a kitchen that works seamlessly with how you actually live and cook.
You’ll know you’ve successfully completed this final step when your kitchen feels effortless. When you can prepare meals without constant searching, when putting things away becomes second nature, and when the space feels calm and functional. Your kitchen declutter is complete not just when everything is sorted, but when the system becomes a natural part of your daily life. Congratulations on transforming your kitchen from chaos to clarity.
Transform Kitchen Chaos Into Lasting Calm
You have just mastered the art of decluttering with our Ultimate Kitchen Declutter Checklist. Are you ready to go even further?
Taming clutter and regaining control over your kitchen takes more than just one checklist. You need the right steps, encouragement, and real solutions for long-term change. At Simple Neat Home, we know how overwhelming messy spaces and overstuffed drawers can feel. That is why our team gathers trusted advice and proven ideas to help you simplify every corner of your home. Need even more guidance for tackling piles of unused gadgets or maximizing your new-found workspace? Discover practical help and extra tips in our Decluttering Archives.
Let today’s kitchen success spark true change throughout your entire home. Explore targeted advice for deeper minimalism in our Minimalism collection. Start your journey toward lasting calm and simplicity. Make progress now so you can enjoy a peaceful, organized kitchen every single day.
Frequently Asked Questions
How do I start decluttering my kitchen effectively?
Begin by gathering supplies like boxes or containers for sorting items into categories: keep, donate, trash, and relocate. Set up a decluttering zone in your kitchen to facilitate the process.
What should I consider when deciding what to keep?
Evaluate each item based on its condition, frequency of use, and whether it serves a genuine purpose. Be honest about items that may not add value to your kitchen.
How can I maintain my kitchen organization after decluttering?
Regularly evaluate your kitchen setup after about two weeks. Pay attention to how easy items are to access and make adjustments as necessary to improve functionality.
What are some effective ways to clean kitchen surfaces during decluttering?
Use an all-purpose cleaner and microfiber cloths to wipe down surfaces. Pay special attention to corners and edges where grime accumulates, and allow surfaces to dry fully before replacing items.
Recommended
- 15 Things You Can Declutter From Your Kitchen RIGHT NOW
- Understanding the Kitchen Organization Guide for Better Cooking | Simple Neat Home
- 5 Easy Steps to Decluttering Your Kitchen Countertops
- 15 Things You Can Declutter From Your Bathroom TODAY


