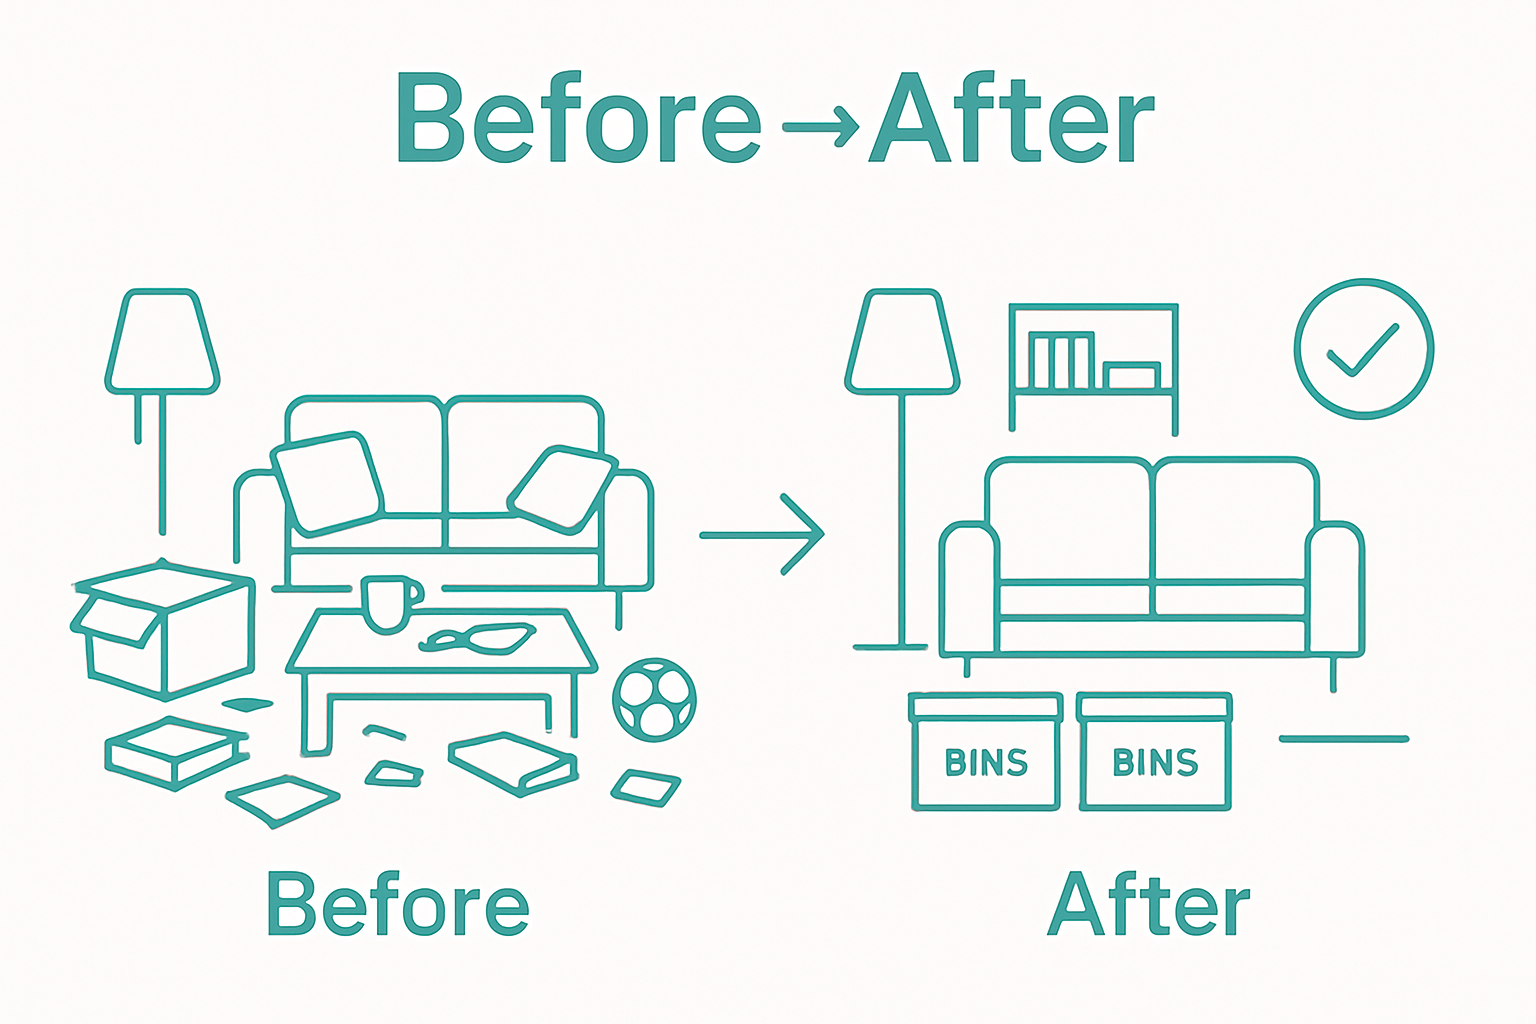
Ultimate Living Room Decluttering Checklist for a Fresh Space
Cluttered living rooms can make even the best days feel stressful. What most people miss is that the secret to lasting change is simpler than you think. Research shows that establishing a daily five-minute reset routine can keep your living room tidy with minimal effort. Surprised? Most believe you need hours every week to keep things in order, but a focused daily habit does more for your peace and space than marathon cleaning sessions ever could.
Table of Contents
- Step 1: Gather Your Decluttering Supplies
- Step 2: Sort Items Into Categories
- Step 3: Decide What To Keep Or Discard
- Step 4: Organize Remaining Items Into Storage
- Step 5: Clean And Refresh The Living Room
- Step 6: Verify Decluttered Space And Maintain Order
Quick Summary
| Key Point | Explanation |
|---|---|
| 1. Gather essential decluttering supplies | Collect boxes, bags, and cleaning tools to streamline the decluttering process before you start. |
| 2. Sort items by categories | Create distinct piles: keep, donate, trash, and relocate to simplify decision-making during decluttering. |
| 3. Evaluate items for keeping | Ask key questions about each item’s purpose and emotional value to decide what to keep or discard. |
| 4. Organize remaining items effectively | Use smart storage solutions and structured zones to maintain organization and facilitate easy access. |
| 5. Establish a daily maintenance routine | Implement a quick cleaning habit and a one-in-one-out rule to prevent clutter from returning in the future. |
Step 1: Gather your decluttering supplies
Before diving into your living room decluttering adventure, gathering the right supplies can transform a potentially overwhelming task into a smooth, organized process. Think of this preparation like setting up a game plan before a big project. You wouldn’t start painting without brushes, right?
Start by collecting a few essential tools that will make your living room decluttering checklist come to life. You’ll want sturdy boxes or bins for sorting items into different categories: keep, donate, trash, and relocate. Grab some heavy duty trash bags, permanent markers for labeling, and cleaning supplies like all purpose cleaner and microfiber cloths. Pro tip: wear comfortable clothing and supportive shoes because this process involves lots of movement.
Learn more about setting effective decluttering goals that will help you stay motivated throughout this process. Having the right mindset and tools prepares you mentally and physically for success.
Consider creating a staging area near your living room where you can temporarily place sorted items. This could be a nearby table or clear section of floor space. The key is having a dedicated spot that allows you to systematically work through your living room without creating additional chaos.
Here is a quick reference checklist of the essential decluttering supplies you’ll need, their recommended types, and their main purposes during the process:
| Supply | Recommended Type | Purpose |
|---|---|---|
| Boxes/Bins | Sturdy, medium to large | Sorting items: keep, donate, trash, move |
| Trash Bags | Heavy duty | Collecting items for disposal |
| Permanent Markers | Black or colored | Labeling boxes and categories |
| Cleaning Supplies | All-purpose cleaner, cloths | Wiping surfaces, dusting, refreshing |
| Laundry Baskets/Cardboard Boxes | Large, easy-carry | Creating sorting/staging zones |
| Comfortable Clothing | Flexible, supportive shoes | Comfort for movement during decluttering |
| Good Lighting/Music | Bright lights, upbeat music | Visibility and maintaining motivation |
Make sure you have good lighting and maybe some energetic music to keep your spirits high. Decluttering can be emotionally challenging, so setting up an environment that feels supportive and engaging makes a huge difference. With your supplies ready, you’re now prepared to tackle your living room and create the fresh, organized space you’ve been dreaming about.
Step 2: Sort items into categories
With your supplies ready, it’s time to transform your living room from cluttered to calm by sorting items into clear categories. According to PBS SoCal, organizing by category rather than location helps you make more intentional decisions about your belongings.
Begin by clearing a large space where you can spread out all your living room items. Create four primary sorting zones: keep, donate, trash, and relocate. Start with smaller items like decorative pieces, magazines, remote controls, and throw pillows. Pick up each item and ask yourself honest questions: When was the last time I used this? Does it bring me joy or serve a practical purpose?
For items that don’t immediately belong in the living room, create a relocate pile. These might include kitchen items accidentally left behind, children’s toys, or office supplies that wandered in. This category prevents you from getting sidetracked during your main decluttering mission. Remember, the goal is to streamline your living room, not shuffle items from one space to another.
As you sort, be ruthless but kind to yourself. Some items might carry sentimental value, and that’s okay. The key is balancing emotional attachment with practical living space needs. If an item hasn’t been used in a year and doesn’t spark genuine joy, consider letting it go. Donate items that are in good condition and could benefit someone else. Broken or worn out items should go directly into the trash pile.
By the end of this sorting process, you should have four distinct piles that clearly show what belongs in your living room and what needs to be addressed elsewhere.
 Take a moment to appreciate the progress you’ve made. Your living room is already starting to feel more spacious and organized.
Step 3: Decide what to keep or discard
Now comes the most challenging part of your living room decluttering journey: making tough decisions about what stays and what goes. According to research on psychological decluttering, our emotional attachment to items can significantly impact our ability to let go.
The key is developing a strategic approach to decision making. Start by asking yourself critical questions about each item. Does this object serve a practical purpose in my living room? When was the last time I actually used it? If an item hasn’t been used in the past year and doesn’t hold significant sentimental value, it might be time to say goodbye. Learn more about asking the right questions when decluttering.
For sentimental items, create a special evaluation process. Take a photograph of objects you’re struggling to release, which can help preserve the memory without keeping the physical item. This technique works wonderfully for things like old magazines, children’s artwork, or decorative pieces that no longer fit your current style. Give yourself permission to keep a few meaningful items, but be honest about what truly matters.
Develop a simple scoring system for your items. Consider factors like frequency of use, emotional significance, and practical value. An item scoring high in multiple categories earns its place in your living room. Those with low scores should be donated, recycled, or discarded. Remember that letting go isn’t about getting rid of everything, but creating space for what truly matters. Your living room should reflect your current lifestyle and bring you joy, not serve as a storage museum for past memories. By the end of this step, you’ll have a curated collection of items that genuinely belong in your living space, setting the stage for a more organized and peaceful environment.
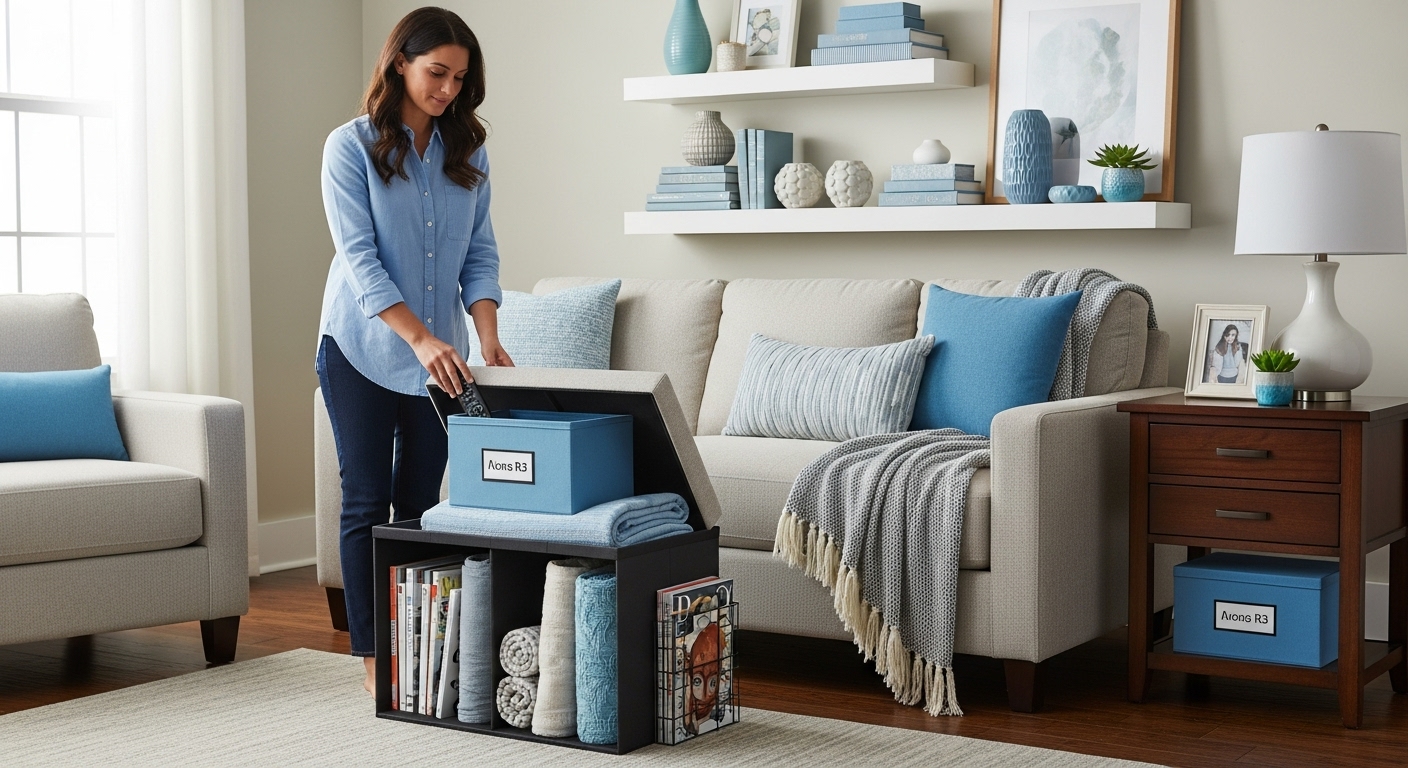
Step 4: Organize remaining items into storage
With your items sorted, it’s time to create a functional storage system that keeps your living room looking clean and organized. According to Mississippi State University Extension Service, the goal is to ensure every item has a purposeful place.
Start by investing in smart storage solutions that blend functionality with aesthetics. Look for furniture pieces that do double duty, like ottomans with hidden storage, coffee tables with drawers, or floating shelves that can display decorative items while keeping smaller objects neatly tucked away. The key is finding storage options that complement your living room’s design while maximizing space efficiency.
Consider implementing a zoning strategy for your living room. Create designated areas for specific types of items: a reading corner with a small bookshelf, a media zone with organized electronic accessories, and a display area for meaningful decorative pieces. This approach helps prevent future clutter by establishing clear boundaries for where things belong. Explore our guide on organizing your living spaces to refine your storage techniques.
Remember that effective storage isn’t just about hiding things away it’s about creating a system that makes items easy to access and return to their proper place. Use clear containers, labeled boxes, and simple organizational tools that make it intuitive to maintain order. Group similar items together: remote controls in one container, magazines in a stylish magazine holder, throw blankets neatly folded in a dedicated basket. By the end of this step, your living room should feel both organized and inviting, with a storage system that works with your lifestyle rather than against it. Take a moment to step back and appreciate the transformation you’ve created a living space that feels calm, purposeful, and uniquely yours.
Step 5: Clean and refresh the living room
After sorting and organizing, it’s time to breathe new life into your living room with a thorough cleaning. According to CDC guidelines, cleaning removes dirt and impurities that can accumulate over time.
Start from the top down to ensure a comprehensive clean. Begin with ceiling corners, light fixtures, and ceiling fans, using an extendable duster to capture cobwebs and dust. Work your way down to shelves, picture frames, and window treatments. Check out our spring cleaning checklist for additional tips on tackling those often-overlooked areas.
Pay special attention to frequently touched surfaces like coffee tables, remote controls, and electronic devices. Use microfiber cloths with appropriate cleaning solutions for different materials. Leather furniture needs a specific leather cleaner, while fabric surfaces might require a gentle fabric spray. Vacuum upholstered furniture thoroughly, using attachments to reach crevices and remove hidden dust and debris. For hard floors, start by sweeping or vacuuming, then mop with a cleaner appropriate to your floor type wood, tile, or laminate each requires a different approach.
The final touch is about creating a refreshed atmosphere. Open windows to let fresh air circulate, replacing stale indoor air with crisp outdoor breeze. Consider adding a light, natural scent through essential oil diffusers or fresh flowers. Take a moment to adjust your newly organized items, ensuring everything looks intentional and clean. Your living room should now feel like a peaceful sanctuary transformed from cluttered chaos to a serene, organized space that reflects your personal style and brings you joy.
Below is a summary of all six main decluttering steps, estimated focus, and the key goal achieved at each stage:
| Step | Focus/Estimated Time | Key Goal Achieved |
|---|---|---|
| 1. Gather Decluttering Supplies | 10 minutes | Prepare tools and create sorting area |
| 2. Sort Items Into Categories | 20-60 minutes | Identify what to keep, donate, trash, move |
| 3. Decide What To Keep or Discard | 20-40 minutes | Make informed decisions on every item |
| 4. Organize Items Into Storage | 20-30 minutes | Set up effective, intuitive storage zones |
| 5. Clean and Refresh the Living Room | 20-40 minutes | Deep clean and reset the space |
| 6. Maintain Decluttered Space | 5 minutes daily | Sustain order with routines and reviews |
Step 6: Verify decluttered space and maintain order
Congratulations on transforming your living room! The final step is creating a sustainable system that prevents future clutter from creeping back in. According to research from the University of Nevada, Reno Extension, maintaining an organized space requires consistent effort and strategic planning.
Establish a daily five-minute reset routine that keeps your living room looking pristine. At the end of each day, walk through the space and return items to their designated homes. Remote controls go back to their tray, throw blankets get folded, and magazines return to their holder. Learn more about maintaining an organized home with your family to create shared responsibility.
Implement a simple one-in-one-out rule to prevent future accumulation. Whenever you bring a new item into the living room, something else must leave. This approach maintains balance and prevents gradual clutter buildup. Consider setting a monthly review where you reassess your storage solutions and items. Are they still working? Do you need to adjust your organizational system? Flexibility is key to long-term success.
Create visual cues that remind everyone in the household about maintaining order. A small sign near storage areas or a family agreement about keeping shared spaces clean can help. Remember, decluttering isn’t a one-time event but an ongoing process. By spending just a few minutes each day maintaining your newly organized living room, you’ll preserve the calm and peace you’ve worked hard to create. Your living space should feel like a sanctuary that supports your lifestyle, not a source of stress and frustration.
Turn Your Newly Decluttered Living Room Into a Lasting Sanctuary
You have just tackled the challenge of clearing out clutter and resetting your living room space. But the real frustration comes afterward when clutter starts creeping back in and your hard work seems to unravel. If you want a living room that stays organized and peaceful instead of slipping into disorder again, you need the right ongoing support and practical strategies.
With our Decluttering Archives, you can dive deeper into proven methods for keeping your living areas serene and functional long after that initial burst of motivation. Discover step-by-step solutions for every stage of the decluttering journey, from letting go of sentimental items to creating sustainable organizing systems. Take the next step now and make your ideal living room a reality that lasts.
Recommended
- 15 Steps to Declutter Your Living Room | Simple Neat Home
- The Ultimate Guide: How to Declutter Your Home, Step by Step
- 12 Tips to Declutter Your Bedroom | Simple Neat Home
- 17 Tips: How to Declutter Before Moving House | Simple Neat Home
- 8 Essential Steps for Your Spring Cleaning List | Rozie – Malta’s Best Cleaning Services
- Stress-Free Moving Checklist 2025: UK, International & Business Moves | Schott Removals