How to Organise Your Child’s Keepsakes
From their first drawing to their school report cards, our child’s keepsakes hold a special place in our hearts. However, over time, saving all of the things can lead to a feeling of disorganisation and clutter. Organizing your child’s keepsakes not only preserves their precious memories but also ensures that you can easily revisit those cherished moments in the years to come. If you’re wondering how to organise your child’s keepsakes, I’ll share practical tips and creative ideas to help you create a well-organised system for those mementoes.
Why Organise Your Child’s Keepsakes?
Before we dive into the how-to, let’s explore why it’s a good idea to organise your child’s keepsakes:
- Preservation of Memories: Keepsakes are a tangible record of your child’s growth and development. Proper organization ensures that these memories are well-preserved for future generations. My daughter loves to look back at her artwork and stories from when she was younger.
- Reduced Clutter: Organizing keepsakes prevents clutter from taking over your home. It allows you to maintain a neat and tidy living space.
- Easy Access: When keepsakes are organised, you can easily access them to relive and share special moments with your child.
- Teaching Responsibility: Involving your child in the organization process teaches them about responsibility and the value of preserving memories.
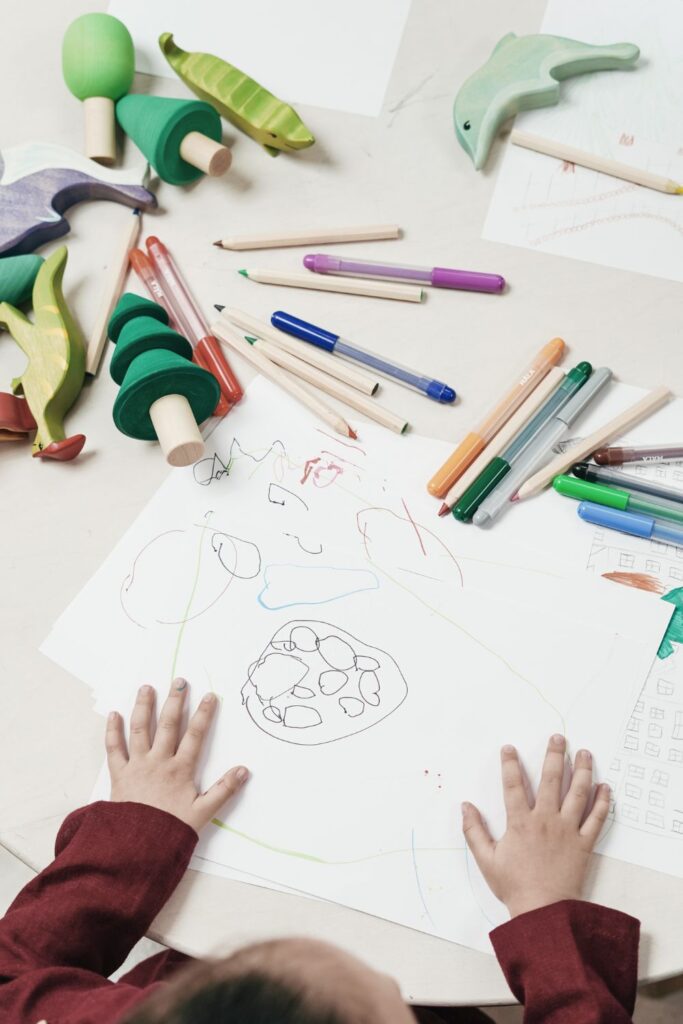
How to Organise Your Child’s Keepsakes
Here’s how to start organizing your child’s keepsakes:
1. Gather All Keepsakes
The first step is to gather all your child’s keepsakes from various corners of your home. This includes artwork, school projects, report cards, photographs, certificates, and any other memorabilia.
2. Sort and Categorise
Once you have everything in one place, sort the items into categories. Common categories may include artwork, school documents, photographs, special letters/cards, and physical items like trophies or toys.
3. Declutter
This is the most critical step. Go through each category and declutter ruthlessly. Keep only the items that hold significant sentimental value. Ask yourself if an item truly represents a meaningful memory or if it can be digitally preserved or replaced. I still have a load of my daughter’s artwork to sort out – I’m not sure I really need to keep the art that is just a line on a piece of paper!
4. Create a Memory Timeline
Consider organizing your child’s keepsakes in chronological order. Create a timeline of their life, starting with birth and moving through each year. This visual representation helps you see the progression of your child’s growth. You could use a storage box for each year (it doesn’t have to be a huge box!).
5. Use Preservation Supplies
For items that need extra care, such as delicate artwork or vintage photographs, invest in preservation supplies like acid-free paper, archival boxes, and protective sleeves. These materials will ensure that keepsakes remain in good condition.
6. Designate a Keepsake Space
Select a specific area or container for storing your child’s keepsakes. This could be a dedicated drawer, box, or even a decorative keepsake trunk. Having a designated space keeps everything organised and easily accessible. I keep all of my daughter’s schoolwork and artwork in a vintage suitcase which lives on top of her wardrobe.
7. Create a Digital Archive
Consider creating a digital archive of your child’s keepsakes. Scan or photograph artwork, school projects, and photographs. Store these digital files on your computer or in cloud storage, making them easy to share and enjoy digitally.
Tips for Organizing Specific Keepsakes:
Now that you’ve started the organization process, let’s explore specific tips for different types of keepsakes:
1. Artwork
- Display Some, Store Some: Display a rotating selection of your child’s artwork on a designated wall or board. Store the rest in a portfolio or folder.
- Create a Digital Gallery: Photograph or scan artwork to create a digital gallery. Share this with family and friends.
2. School Documents
- Use a Binder: Create a school binder for each academic year. Include report cards, certificates, and special awards.
- File Digitally: Scan important documents and save them in labeled folders on your computer.
3. Photographs
- Sort and Label: Sort photographs into categories (e.g., birthdays, holidays, vacations) and label them with dates and descriptions.
- Create Albums: Organise printed photos into albums or create digital photo albums online.
4. Physical Items (Toys, Trophies, etc.)
- Display Shelving: Use shelves to display special 3D items. Rotate items as your child’s interests change.
- Create Memory Boxes: Designate a box for each year and include a few 3D keepsakes, like small toys or awards, in each box.
5. Sentimental Letters and Cards
- Use Binders or Boxes: Store special letters and cards in binders with plastic sleeves or in decorative boxes.
- Create a Keepsake Scrapbook: Compile a scrapbook of sentimental letters, cards, and notes.

6. Yearly Keepsake Books
- Create Annual Keepsake Books: Designate a keepsake book for each year. Include photos, artwork, and special memories from that year. I’ve been meaning to do this since I had my daughter and she’s just turned 12!
- Encourage Reflection: Prompt your child to write a summary of their favorite memories from the year.
Organizing your child’s keepsakes is not just about tidying up; it’s about cherishing the journey of their growth and development. By following these tips and creating a well-organised system, you ensure that these precious memories are preserved for both you and your child to revisit in the future. As your child grows, involve them in the process, teaching them the value of treasuring memories and the importance of an organised and sentimental keepsake collection. Embrace the joy of revisiting these cherished moments, one keepsake at a time.






Organizing your child’s keepsakes is a wonderful way to cherish and preserve precious memories. It’s a great way to create a treasure trove of nostalgia for the future!