Freezer-Friendly Meals with Labeling Systems: Your Guide to Organized Meal Prep
We’ve all been there, right? You open the freezer with good intentions, ready to grab one of those meals you so diligently prepped… and you’re met with a collection of mystery containers covered in frost. Is that the beef stew or the soup? When exactly did you make this? And why didn’t you label it properly?
(Spoiler: because you were tired and “you’d definitely remember.”)
Let’s be real: if you’re spending time meal prepping only to play freezer roulette every dinner time, something’s not working. But here’s the good news – with a simple labeling system and a few freezer-friendly recipes, you can transform your freezer into an organized meal-prep powerhouse that actually makes your life easier.
The Magic of Organized Freezer Meals
Before we dive into the how-to, let’s talk about why this matters. Because honestly, an organized freezer isn’t just about being tidy (though that’s a nice bonus). It’s about creating a system that genuinely reduces stress and saves you time.
When you’ve got properly labeled freezer meals ready to go, you’re not scrambling at 6 PM wondering what’s for dinner. You’re not ordering takeout for the third time this week because nothing in the fridge inspires you. And you’re definitely not throwing away that mystery container you finally gave up on identifying.
Organized freezer meals save you time on those chaotic weeknights, reduce food waste (because you’ll actually use what you freeze), save money (hello, batch cooking!), and – this is the big one – reduce your mental load. The decisions are already made. Dinner is sorted. That’s pretty magical for busy families.
First Things First: Organizing Your Freezer Space
Before you start filling your freezer with beautifully labeled meals, let’s give it a quick once-over. I’m not talking about a Pinterest-worthy deep clean here – just a practical setup that’ll make your system work.
Quick Freezer Declutter
✔ Remove the mystery items – You know the ones. Those frost-covered bags that could be literally anything. If you can’t identify it and don’t remember making it, it’s time to say goodbye.
✔ Check expiration dates – Yes, frozen food does eventually go bad. Generally, cooked meals are good for 3-6 months in the freezer.
✔ Give it a quick wipe – Just the shelves and visible surfaces. We’re keeping this simple.
This ties in perfectly with your kitchen organization efforts – because an organized freezer is just as important as organized counters and cupboards!
Designate Freezer Zones
Here’s where the magic happens. Instead of just shoving things wherever they fit, create zones:
✔ Raw ingredients section – Things like chicken breasts, ground beef, vegetables you’ll use for cooking
✔ Prepared freezer meals section – Your ready-to-reheat dinners
✔ Quick grab items – Bread, pre-made components, things you need to access frequently
Why bother with zones? Because you’ll thank yourself when you’re not digging through frozen peas to find your lasagna. It’s the same principle as organizing your kitchen cupboards – everything has a home, and you know where to find it.
Choose the Right Containers
Not all containers are created equal when it comes to freezing. Here’s what works:
✔ Freezer-safe containers – Look for containers specifically marked “freezer safe.” Regular plastic containers can crack or become brittle in the freezer.
✔ Flat storage bags – These are brilliant for space efficiency. You can stack them like files once frozen.
✔ Portion-appropriate sizing – Think about how you’ll actually use the food. Family of four? Use containers that hold four servings.
✔ Leave expansion room for liquids – Soups and stews expand when frozen. Leave about an inch of space at the top, or you’ll end up with cracked containers and a mess.
Label Like You Mean It: Information You Actually Need
Okay, this is where most people go wrong. They either skip labeling entirely (“I’ll remember!”) or they under-label (“Chicken” – but chicken what? When? How many servings?).
Let’s create a labeling system that actually works – one that future-you will appreciate when you’re tired and hungry and just need dinner on the table.
Essential Label Information
✔ Meal name – Be specific here. “Chicken Taco Filling” not just “Chicken.” Trust me, three months from now, you won’t remember if that’s taco meat or curry.
✔ Date frozen – Month and year is usually enough. This helps you use older items first and know when something’s been in there too long.
✔ Reheat instructions – Quick version works fine: “Stovetop 20 min” or “Oven 350°F 45 min.” Your future self doesn’t want to dig out a recipe when you’re starving.
✔ Serving size – “Feeds 4” or “2 adult portions” – especially helpful if you’re batch cooking different sizes.
Optional But Helpful
If you’ve got the energy (and let’s be honest, sometimes we don’t, and that’s okay), these extras can be useful:
- Key ingredients – Helpful for allergen tracking or when someone asks “what’s in this?”
- Side dish suggestions – “Serve with rice” or “Goes great with salad”
- Use by date – Calculate this as 3-6 months from freeze date, depending on the meal type
Labeling Methods That Actually Work
There’s no one “perfect” way to label – it depends on what works for your brain and your budget. Here are the options:
✔ Freezer tape + permanent marker (My go-to)
Budget-friendly and works on everything. The tape is designed to stick in cold temperatures (regular tape doesn’t).
Pro: Cheap, easy to find, you probably already have markers
Con: Can occasionally peel off (just press it down firmly)
✔ Pre-printed freezer labels
You can buy sheets of labels designed specifically for freezer use, with prompts for all the info you need.
Pro: Looks professional, includes all the info prompts so you don’t forget anything
Con: You need to buy them, and you have to remember to order more when you run out
✔ Dry erase markers on reusable bags
If you’re using silicone or other reusable freezer bags, dry erase markers work great.
Pro: Eco-friendly, you can use the bags over and over
Con: The ink can smudge if you’re not careful
✔ Digital app + numbered system
Some people love tracking their freezer inventory on their phone and just putting numbers on containers.
Pro: Very detailed tracking possible, you can search by ingredient or meal type
Con: You have to actually update the app every time (easier said than done, I know)
Honestly, the digital system might be overkill for most people. But if you love a good spreadsheet, go for it!
Pro Tips for Labeling Success
- Label BEFORE freezing – You think you’ll do it later. You won’t. Label it now.
- Put labels where you can see them – On the top or front of containers, not just the side
- Use a consistent format – Makes scanning your freezer so much faster
- Color-code if it helps – Red tape for beef, green for vegetarian, etc.
Look, your labels don’t have to be perfect. Readable is the goal here, not Instagram-worthy. We’re going for functional, not fancy.
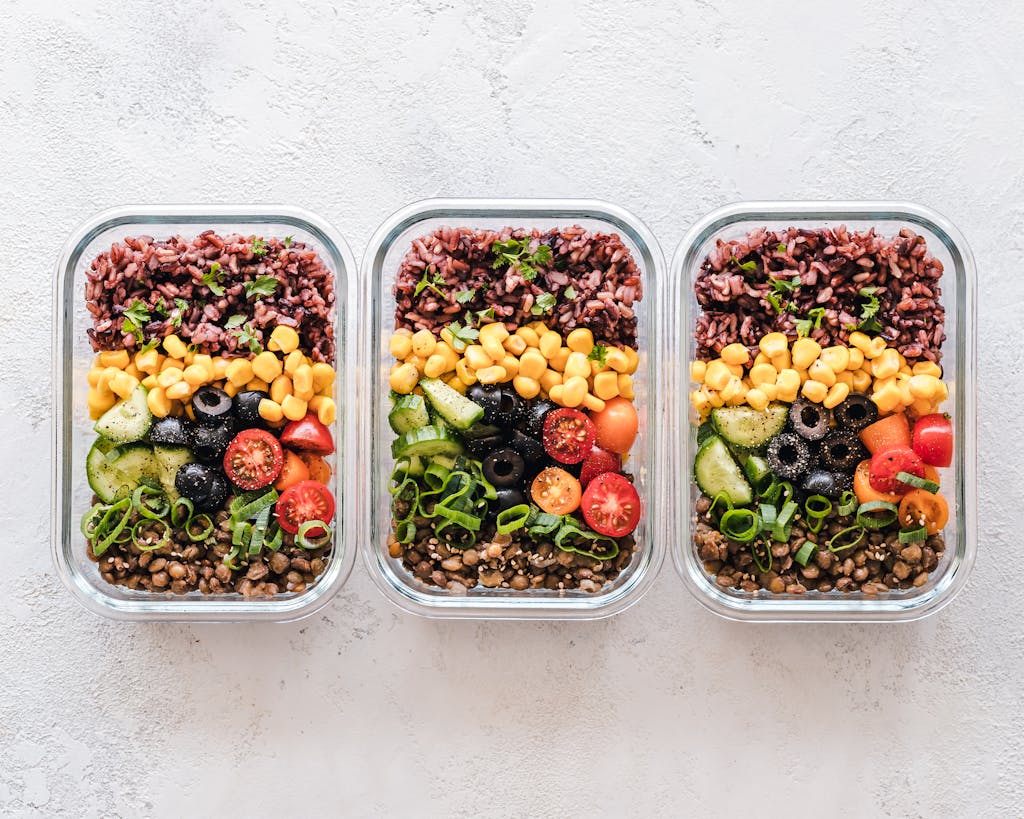
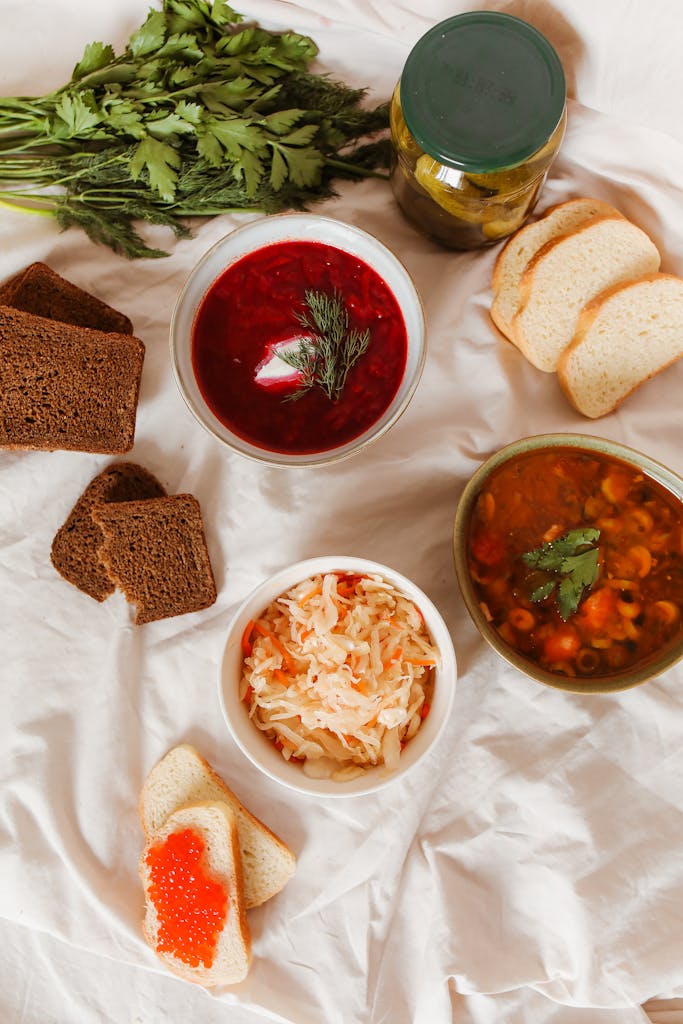
5 Foolproof Freezer-Friendly Recipes to Get Started
Not everything freezes well (looking at you, lettuce and mayo-based salads), but these recipes? They’re made for the freezer. They actually taste better reheated, and they’ll make your future self so grateful.
Start with just one or two. You don’t need to fill your entire freezer in one weekend – that’s overwhelming and we’re trying to reduce stress here, remember?
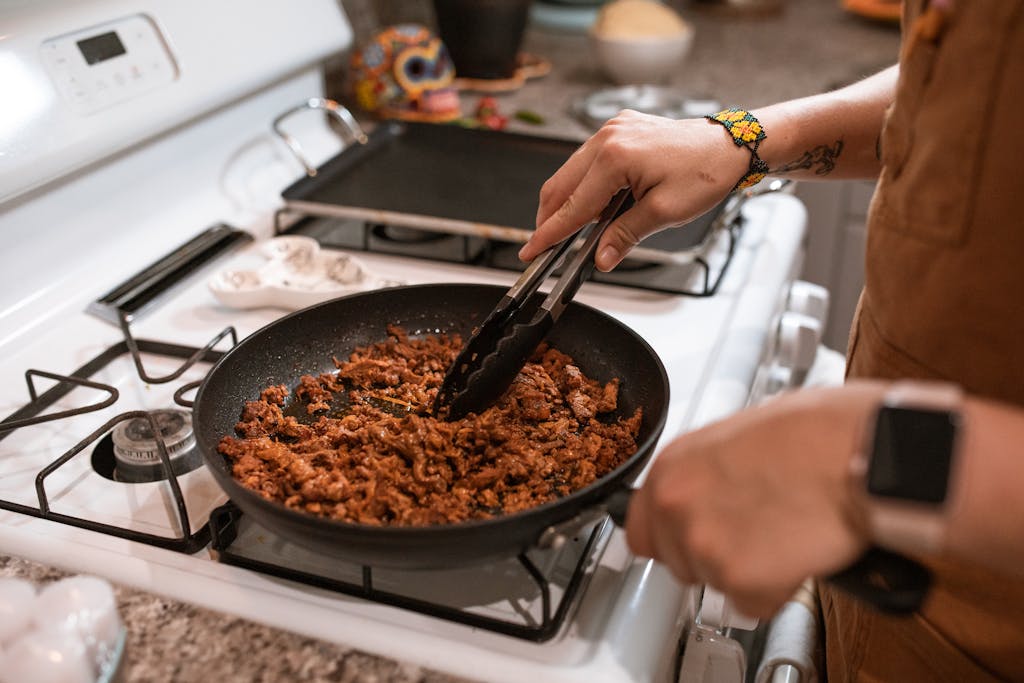
Recipe 1: Classic Beef Chili
This is freezer gold. Chili is one of those magical meals that actually improves in the freezer as the flavors meld together.
Why it freezes well: High liquid content, no dairy (add that when reheating), and the spices intensify beautifully.
Basic approach: Brown ground beef with onions and garlic, add canned tomatoes, beans, chili powder, cumin, and a touch of cocoa powder (secret ingredient!). Simmer for 30 minutes, cool completely, then freeze.
Freezing tips:
- Portion into individual or family servings based on your needs
- Use freezer bags laid flat for space efficiency
- Freezes beautifully for up to 4 months
Reheating options:
- Stovetop: 20 minutes on medium heat, stirring occasionally
- Microwave: 5-7 minutes, stirring halfway
- Slow cooker: Low for 2-3 hours (great if you’re organizing your time on a Sunday and want dinner ready when you get home)
Serving suggestions: Top with shredded cheese, sour cream, green onions. Serve with cornbread, crackers, or over a baked potato.
Sample label: “Beef Chili | 1/15/25 | Serves 4 | Stovetop: 20 min on medium heat | Add cheese + sour cream when serving”
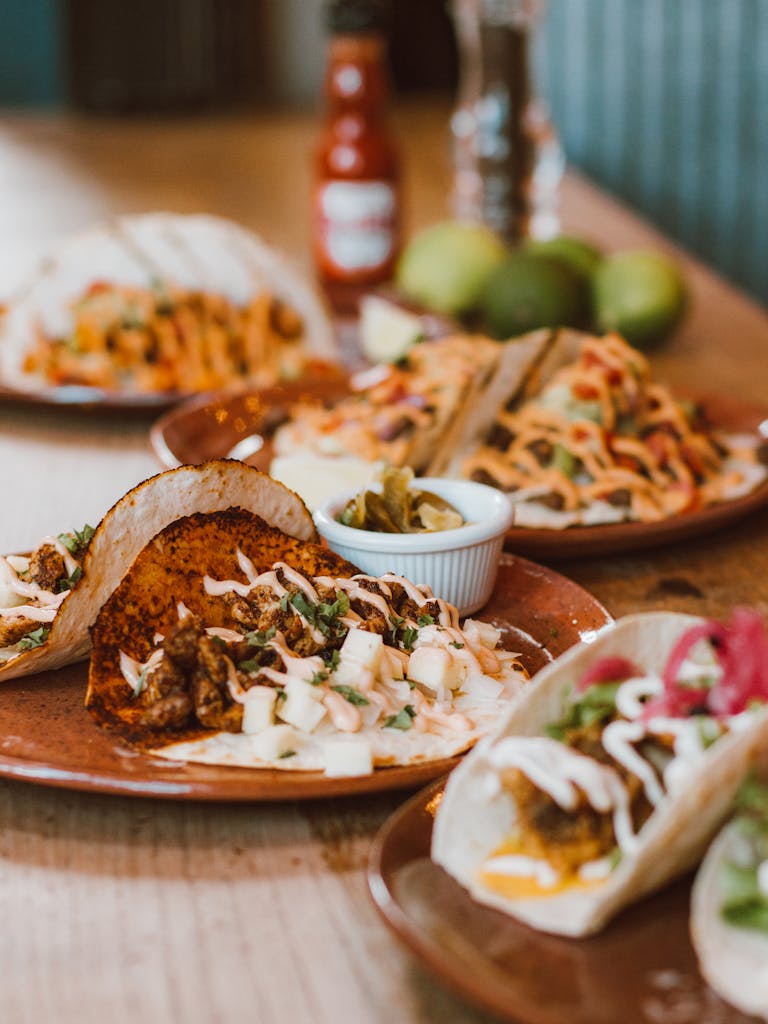
Recipe 2: Chicken Taco Filling
Talk about versatile! This is basically a blank canvas for multiple meals, which makes it perfect for those nights when you can’t decide what you want.
Why it freezes well: Shredded chicken in sauce freezes perfectly and reheats without getting dry.
Basic approach: Cook chicken breasts (I use a slow cooker), shred, mix with taco seasoning, a bit of salsa, and some chicken broth to keep it moist. Cool and freeze.
Freezing tips:
- Freeze flat in bags for easy storage
- This stacks like files once frozen – so satisfying!
- Label with different serving suggestions
Use it for: Tacos, burritos, burrito bowls, taco salads, nachos, quesadillas – the options are endless
Reheating: Stovetop for 15 minutes or microwave for 3-4 minutes
Sample label: “Chicken Taco Filling | 1/15/25 | 6 servings | Stovetop 15 min | Serve with: tortillas, lettuce, cheese, salsa”
Recipe 3: Vegetable Soup
Perfect for using up vegetables before they go bad, and it’s one of those comforting meals that just makes everything feel better.
Why it freezes well: Vegetables and broth freeze beautifully together. Just avoid adding pasta until reheating (it gets mushy).
Basic approach: Sauté onions, carrots, and celery. Add any other vegetables you have (zucchini, green beans, tomatoes), vegetable or chicken broth, Italian seasoning, and a bay leaf. Simmer until tender, cool, and freeze.
Freezing tips:
- Can freeze in jars if you leave adequate headspace (at least 1 inch at the top)
- Or use containers – whatever works for your kitchen storage
- Freezes for 3-4 months
Reheating: Stovetop until heated through, or microwave in intervals. Add pasta or rice during reheating if desired.
Serving suggestion: Serve with grilled cheese sandwiches or crusty bread
Sample label: “Vegetable Soup | 1/15/25 | Feeds 3-4 | Stovetop or microwave | Pairs with grilled cheese | Add pasta when reheating if desired”
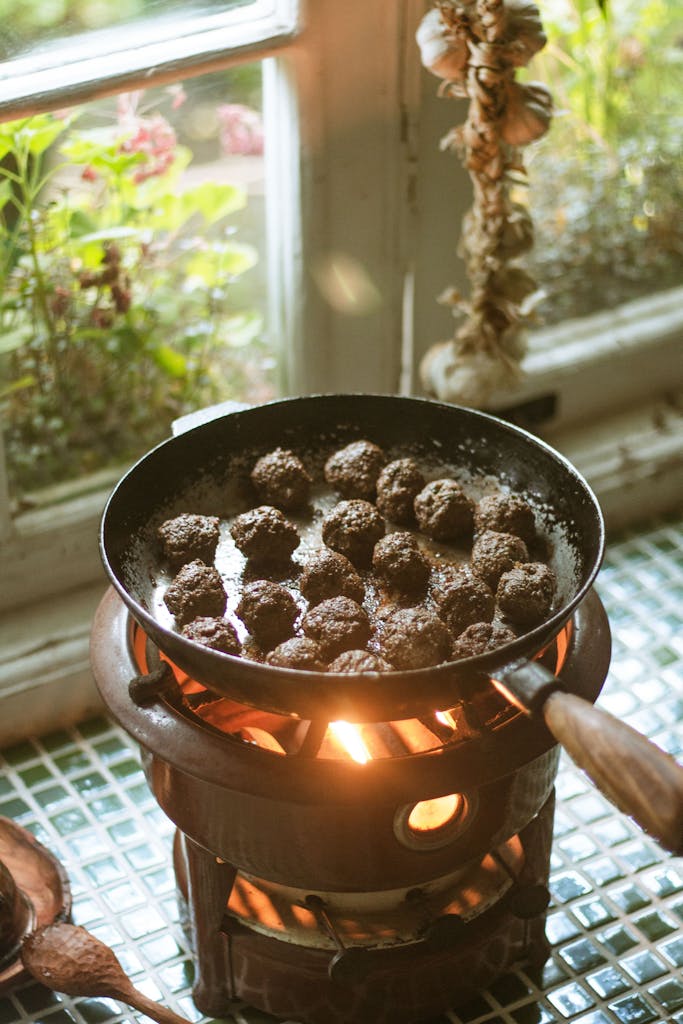
Recipe 4: Italian Meatballs
These are brilliant because you can freeze them raw or cooked, and they work for so many different meals.
Why they freeze well: Individual portions, easy to grab exactly what you need, and they maintain their texture perfectly.
Basic approach: Mix ground beef (or beef/pork combination), breadcrumbs, egg, minced garlic, Italian seasoning, salt, and pepper. Form into balls, then either cook and freeze or freeze raw.
Freezing tips:
- Space-saver method: Freeze on a baking sheet first, then transfer to a bag once solid
- This prevents them from freezing together in one big lump
- Write on the label whether they’re raw or cooked (important!)
Use them for: Spaghetti and meatballs, meatball subs, as appetizers, in soup
Reheating:
- If cooked: Oven at 350°F for 15 minutes or microwave
- If raw: Bake at 375°F for 25-30 minutes
Sample label: “Italian Meatballs (cooked) | 1/15/25 | 24 meatballs | Oven 350°F 15 min | Serve with: pasta + sauce or sub rolls”
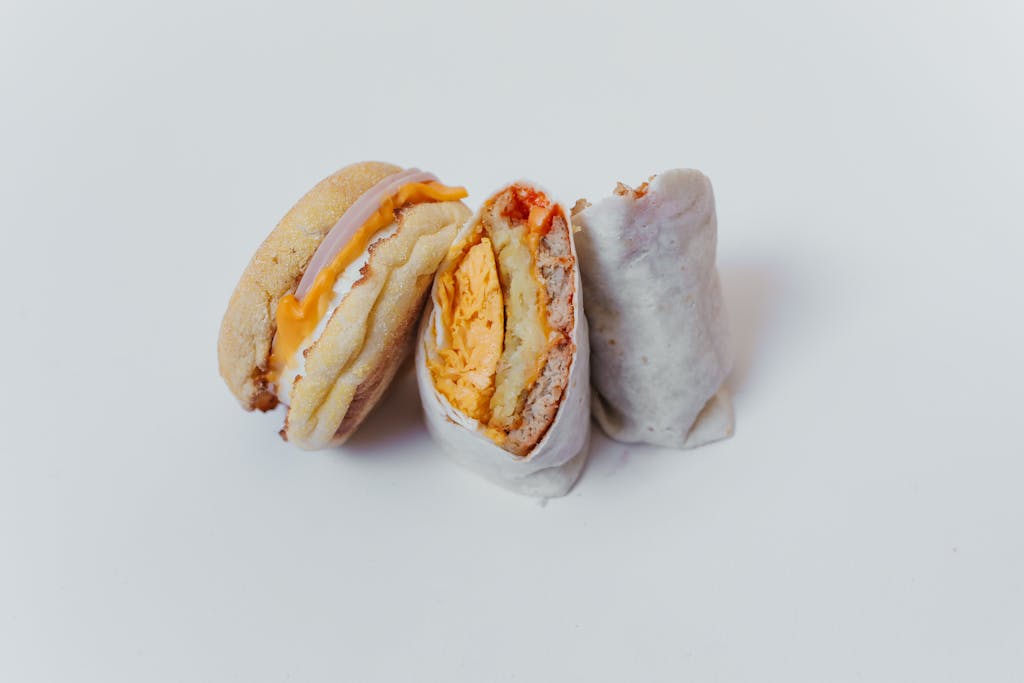
Recipe 5: Breakfast Burritos
Game-changer for busy mornings. Make these on a Sunday reset day and you’ve got breakfast sorted for the week.
Why they freeze well: All the components hold up beautifully, and they’re already portioned.
Basic approach: Scramble eggs, cook sausage or bacon, prepare hash browns. Wrap in tortillas with cheese. Let cool completely, wrap individually in foil, then freeze.
Freezing tips:
- Wrap each burrito in foil before freezing
- Stack them in a gallon freezer bag
- Make an assembly line – kids can help roll these (even if they’re not perfect!)
Reheating: Remove foil, wrap in paper towel, microwave for 2 minutes from frozen. Easy!
Variations: Make some with sausage, some with bacon, some vegetarian with just eggs and veggies. Label them differently so people can grab what they want.
Sample label: “Breakfast Burritos – Sausage | 1/15/25 | 8 burritos | Microwave 2 min from frozen | Remove foil first!”
Keep It Going: The Weekly Freezer Check-In
So you’ve organized your freezer and loaded it with beautifully labeled meals. Amazing! Now let’s talk about maintaining this system, because that’s where most organization plans fall apart, right?
The good news is that maintaining an organized freezer takes way less effort than setting it up. We’re talking minutes, not hours.
Your Simple Maintenance Routine
✔ Weekly quick scan (30 seconds, tops)
Every week when you’re planning meals or making your grocery list, open the freezer and take a quick look. What needs using soon? What sounds good this week?
This connects beautifully with your Sunday reset routine – just add “check freezer inventory” to your weekly checklist.
✔ Monthly rotation
Once a month, move older meals to the front. It’s the same principle as organizing your pantry – first in, first out.
Takes about 2 minutes and prevents waste.
✔ When you cook, think ahead
Not every meal needs to be doubled and frozen. But when you’re making chili anyway, or browning ground beef, or roasting a whole chicken – consider making a bit extra for the freezer.
It’s minimal extra effort when you’re already cooking, and future-you will be so grateful.
✔ Before grocery shopping
Check what’s in the freezer before you shop. This prevents overbuying and helps with meal planning. Plus, if you’ve got three containers of soup already frozen, maybe skip buying more soup ingredients this week.
Troubleshooting Common Issues
Labels falling off? → You’re probably using regular tape instead of freezer tape. Freezer tape is designed to stay sticky in cold temperatures. Worth the small investment!
Can’t find anything? → Time to implement those zones we talked about. Raw ingredients in one area, prepared meals in another, quick-grab items in a third. Makes scanning so much faster.
Mystery frost-covered bags appearing again? → Two possibilities: either the bags aren’t freezer-quality (regular storage bags don’t work well long-term in the freezer), or there’s too much air in the bag. Squeeze out as much air as possible before sealing.
Freezer burn happening? → This means air is getting to the food. Make sure you’re using proper freezer containers or bags, removing excess air, and using meals within the recommended 3-6 month timeframe. Even frozen food doesn’t last forever.
Your Organized Freezer = Your Future Self’s Best Friend
Here’s the thing about freezer meal prep with a good labeling system – it gets easier with practice. The first time you do this, it might feel like a lot. You’re learning what containers work, figuring out your labeling system, testing recipes.
But by the third or fourth time? You’ll have it down. You’ll know which meals your family loves, which containers work best, and exactly how to label them so you can find what you need instantly.
Start small. Even having 2-3 labeled freezer meals makes a difference on those nights when everyone’s tired and hungry and no one can face cooking from scratch. That’s not failure – that’s smart planning.
The point isn’t perfection. It’s not about having a freezer that looks like something from a magazine. The point is reducing stress, saving time, and knowing that dinner is sorted even on the most chaotic days.
And honestly? That’s magic enough.
So tell me – what’s one meal you could double-batch this week and toss in the freezer? Even starting with just one recipe and proper labeling is a step toward a calmer, more organized home. And if you’re feeling overwhelmed by the idea, remember – we’re taking this one small step at a time. Just like everything else in your home organization journey, progress matters more than perfection.
Ready to take your kitchen organization even further? Check out these related posts:
- How to Declutter Your Kitchen – Start with a clean slate
- Kitchen Organization Essentials – The tools that make a difference
- How to Organize a Small Pantry – Maximize your storage space
- Sunday Reset Routine – Include freezer meal prep in your weekly rhythm


